The short answer
Wall preparation is the right call any time you are hanging new wallpaper, removing old paper, or dealing with texture, damage or moisture on walls you want covered. We repair and smooth the surface, then seal it with a wallcovering primer so the next layer bonds well and can be removed cleanly later.
Most wallpaper failures trace back to the wall, not the paper. Seams that open, bubbles that never flatten, a ridge you can see from across the room, or strips that tear away chunks of drywall years later all start with a surface that was not ready. Specialist Wallpaper Installer handles the unglamorous part of the job for Orlando homeowners: diagnosing the wall, fixing what is wrong and building a smooth, sealed base for whatever covering comes next. We do this as part of our own installations and as a standalone service when another installer, a painter or the homeowner will hang the paper. Below is how we decide what a wall needs, how the repair and priming work, what the process looks like in sequence, what changes the scope and how to protect the finished surface.
Signs your walls need work first
Hold a bright flashlight flat against the wall at night and look along it. Shadows reveal what normal room light hides: humps over old patches, nail pops, joint tape lines and torn spots. If you see a lot of them, the wall needs attention before covering.
Other clues are easier to spot:
- Heavy orange peel, knockdown or popcorn-style texture common in many builder-grade subdivisions
- Brown, fuzzy drywall paper showing where old wallpaper was pulled off
- Water stains below windows or along the ceiling after a stretch of summer storms
- Hairline cracks at the corners of doors and windows
- Peeling or chalky paint that rubs off on your hand
- Glossy enamel paint, which many adhesives cannot grip without primer
How we repair and prime
Repair starts by finding the cause of any damage. A water stain gets traced back to its source before we patch it; there is no point skimming over a wall that will get wet again. On plaster or concrete-block walls in older ranch homes, we check for loose material and efflorescence, the white mineral deposit that shows moisture moving through masonry.
Torn drywall paper is sealed with a penetrating primer or shellac-based sealer before any compound touches it. Skip that step and the moisture in the joint compound or wallpaper paste makes the torn paper swell into bubbles.
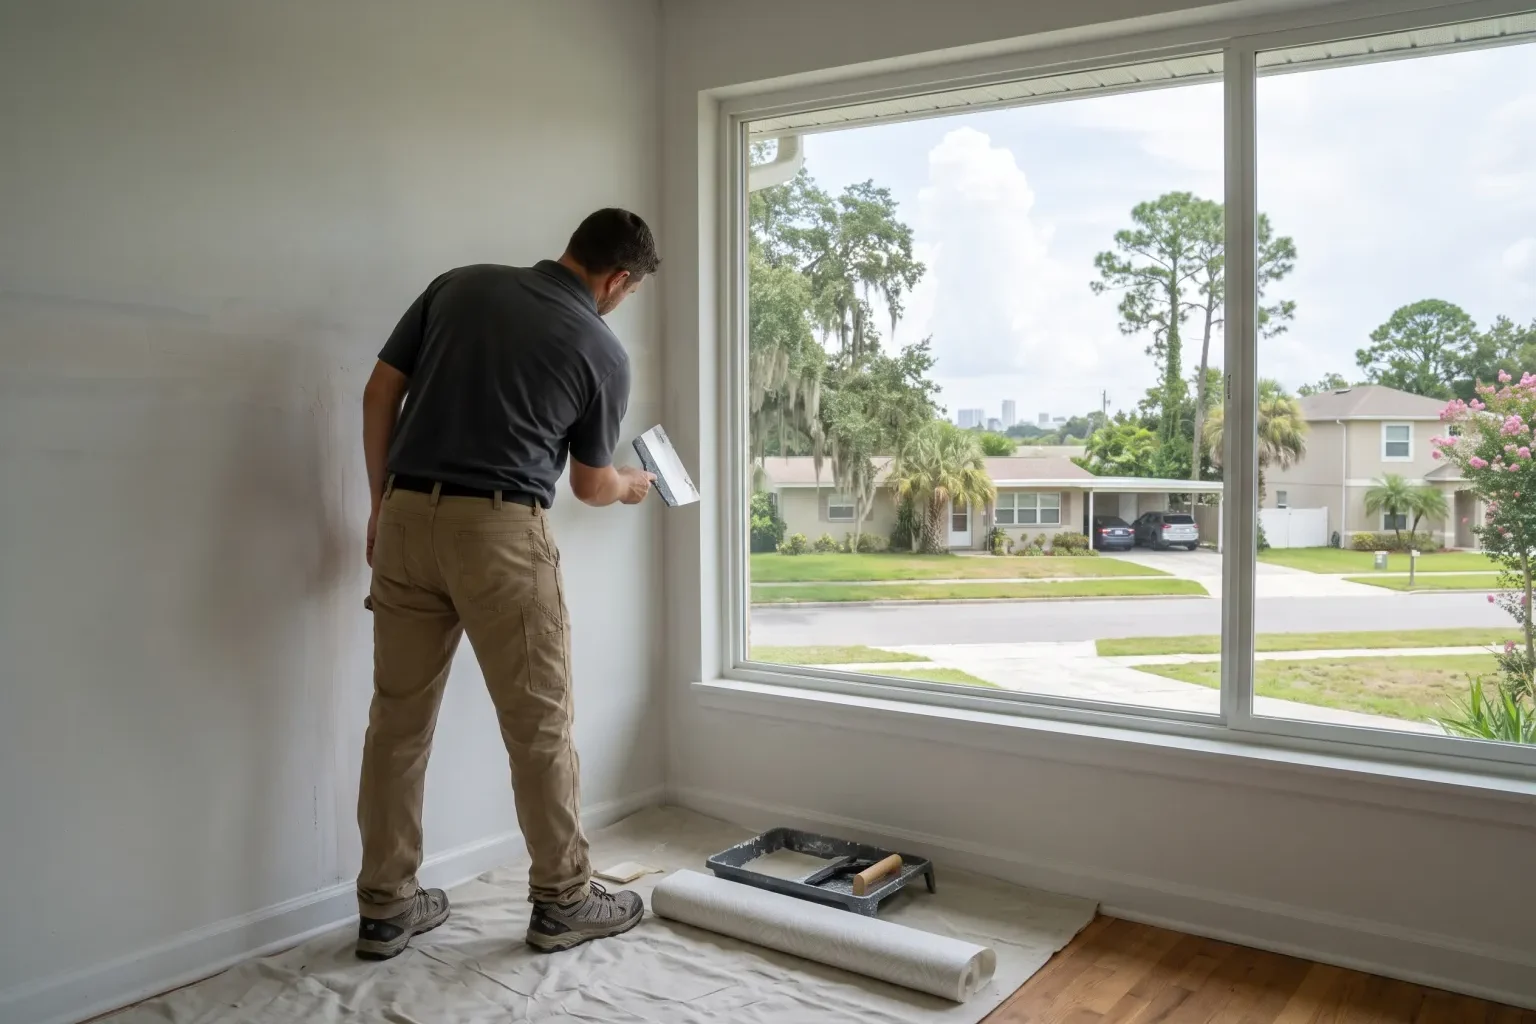
Texture is handled by skim coating: we apply thin coats of joint compound across the entire wall with a wide knife or trowel, let each coat dry, and sand between coats until the wall feels flat. Dents, holes and cracks get filled with setting compound, which shrinks less than premixed products.
Last comes the primer. We match the primer to the job: a pigmented acrylic wallcovering primer for most papers, a mildew-resistant formula for bathrooms and laundry rooms, and a tinted primer under light or translucent coverings so patched areas do not shadow through.
The process from walkthrough to hand-off
Even though prep is not glamorous, it follows a careful order, and it sets up the installation steps that come after it.
- Walkthrough: we inspect each wall with raking light, note moisture readings and discuss the covering you plan to use.
- Protect: floors, furniture and outlets are covered or removed, and dust control is set up.
- Strip and clean: old wallpaper and adhesive residue come off, and walls are washed.
- Repair: holes, cracks, torn paper and damaged corners are fixed.
- Smooth: textured walls are skim coated and sanded flat.
- Prime: the right primer goes on and dries fully.
- Measure and plan: if we are also hanging the paper, we measure the wall height and width, plan where seams will fall, and set the plumb line for pattern matching. Trimming allowances at the ceiling and baseboard are figured in at this stage.
What affects the cost of prep and repair
Prep is quoted after we see the walls because condition varies so much. A sound, smooth painted wall may need only cleaning and primer, while a wall with multiple layers of old paper, heavy texture and water damage could require several days of repair and drying.
The covering you choose matters as well. Thin papers, metallics and foils reveal tiny imperfections and need a flawless surface; heavy vinyl or textured grasscloth can tolerate a little more. Large pattern repeats do not change prep directly, but if seams will land in specific spots, those areas need extra attention.
Room size and ceiling height add labor, especially in two-story foyers and stairwells where skim coating requires scaffolding. Humid weather can also stretch drying time between coats.
Plaster, block and drywall each need something different
Central Florida has a mix of wall types, and prep changes with each one. Many 1950s through 1970s ranch homes were built with concrete block exterior walls finished on the inside with plaster or furring strips and drywall. Plaster can be hard and smooth, but it also cracks in long diagonal lines and sometimes has hollow spots where it has pulled away from the lath or block. We tap along the surface to find those areas and secure or cut them out before skimming.
Bare painted block, sometimes found in Florida rooms and garages converted to living space, has deep mortar joints and a porous face. It usually needs a heavy filler or a lining paper before any decorative covering will look flat.
Newer stucco-exterior subdivisions mostly have drywall inside, typically finished with a spray texture. The challenge there is less about cracks and more about removing or burying texture evenly across large, tall walls, often with long sight lines in open floor plans where any unevenness is easy to spot.
Protecting the finished surface
A primed wall should be covered reasonably soon. Left exposed for months, primer can collect dust and grease that weakens adhesion. If there will be a delay, keep the room clean and climate controlled.
After the wallpaper goes up, keep humidity steady with air conditioning, fix roof or window leaks quickly and watch for moisture after big storms, especially during the June through November hurricane season.