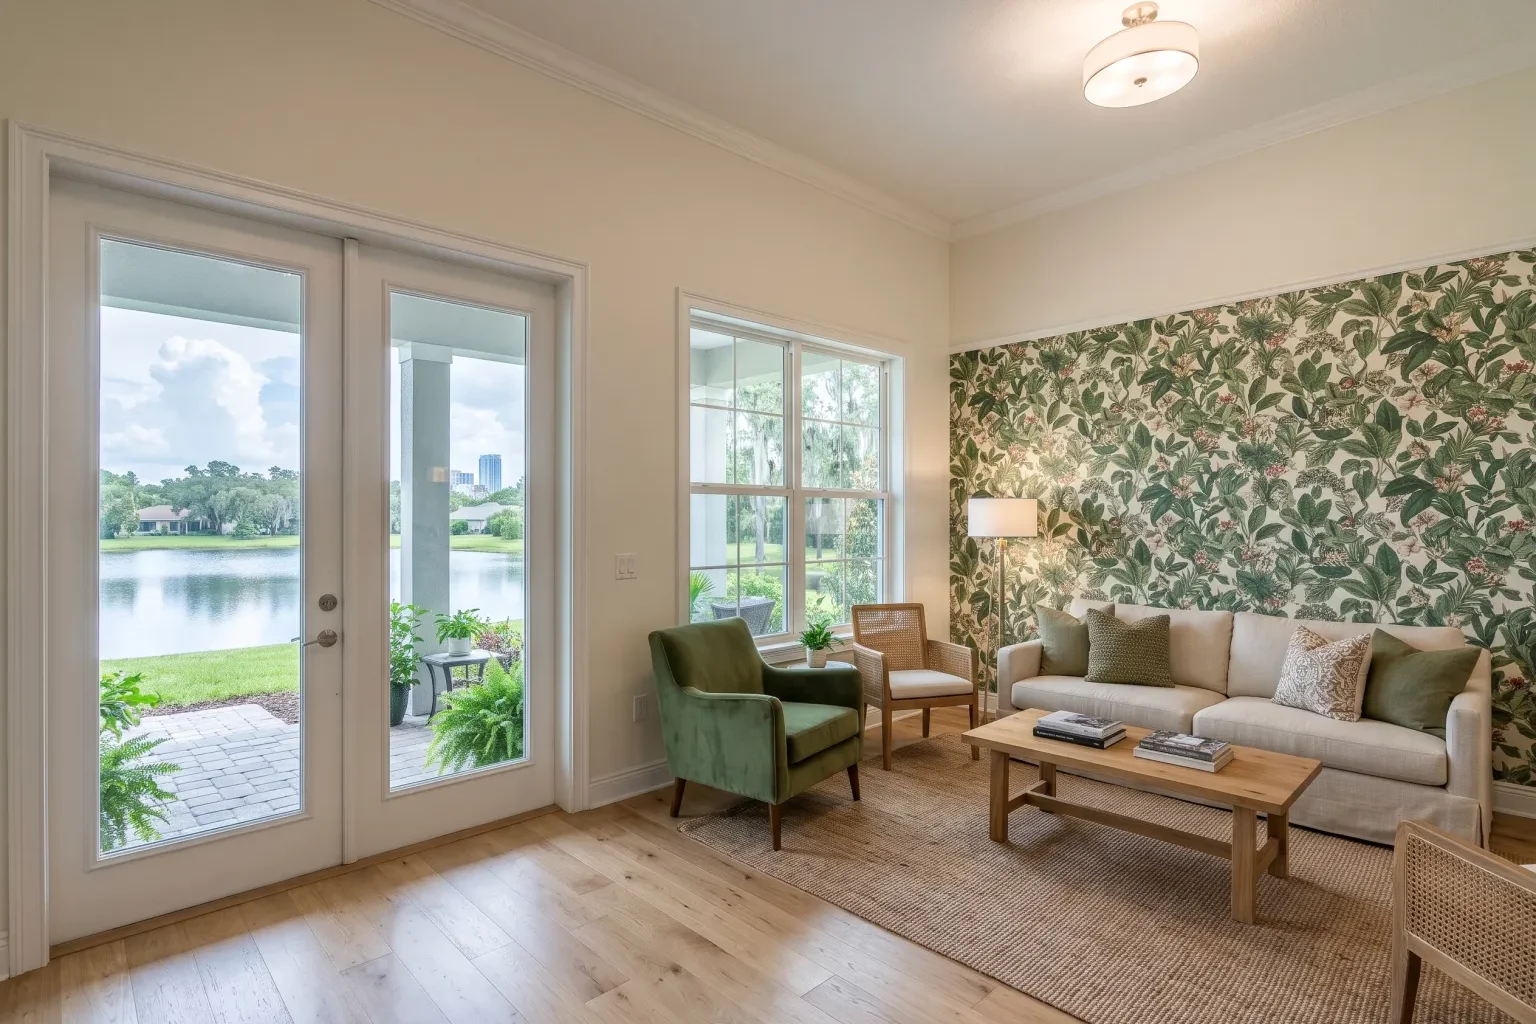
The short answer
Peel and stick wallpaper is a good fit for renters, small accent walls, closets, shelving backs and rooms you plan to change again soon. It needs a smooth, cured, clean painted wall to stay put in our humid climate, and careful alignment from the first panel because the adhesive leaves little room to slide.
Self-adhesive wallpaper is sold as an easy weekend project, and on a small, perfectly smooth wall it can be. In practice, many Orlando homeowners call us after the first few strips bubble, drift out of plumb or peel back at the top edge in August. The adhesive is pressure-sensitive, so it grabs instantly, forgives very little and depends heavily on the surface underneath. Specialist Wallpaper Installer puts up peel and stick products in homes across Orlando and the nearby suburbs, including rentals, kids' rooms and quick refreshes before a listing. Here is when this kind of covering is a smart pick, what the wall needs first, how the panels go on, what changes the size of the job and how to keep it looking clean.
Is a removable covering right for your space?
This style shines when flexibility matters more than permanence. Tenants who need to restore walls at move-out, families who redecorate a nursery as a child grows and anyone testing a bold pattern before committing to traditional paper are typical clients.
There are limits. Peel and stick does not like heavy texture, fresh paint, or walls that stay warm and damp. A bathroom without an exhaust fan or a wall backing onto an unconditioned garage in summer can loosen the bond. Very large rooms also tend to look better in traditional paper, since self-adhesive panels are often thinner and show wall flaws more readily.
Spots where it usually performs well:
- A single feature wall in a bedroom or home office
- The back panel of bookcases and open shelving
- Closet interiors and pantry walls
- Stair risers and smaller decorative areas
- Rental apartments and condos with smooth painted drywall
Surface work before the backing comes off
Adhesion is everything with this product, so prep looks a little different than it does for pasted paper. We wash the wall with a mild degreaser and let it dry completely, because dust and cooking film are the most common reasons panels lift.
If the wall has been painted recently, it needs time to cure; most paint manufacturers suggest waiting several weeks, and applying sooner can trap solvents and cause bubbling or let the adhesive pull paint off later. Flat or matte paints sometimes offer a weaker bond than eggshell or satin, so on a chalky wall we may recommend a coat of primer or a compatible paint first.
We fill holes and sand down bumps. Light texture can sometimes stay, but anything heavier than a soft orange peel should be smoothed, otherwise the film drapes over the peaks and leaves little air pockets.
How the panels go up
Our sequence keeps the first panel straight and every following one locked to it.
- Measure each wall and calculate panel count with extra length at the top and bottom for trimming.
- Mark a true vertical line with a laser or level instead of trusting a corner, since corners are rarely straight.
- Peel only the top portion of the liner, set the panel against the line, and confirm the pattern height before pressing.
- Work downward, pulling the liner away a section at a time while smoothing from the center outward with a felt-edged squeegee.
- Align each new panel to the pattern of the previous one, overlapping or butting the edge according to the product's directions.
- Trim at ceiling, baseboard, outlets and window casings with a sharp blade and a metal guide, then press all edges firmly.
What influences the price of a peel and stick project
Even a product designed for DIY involves labor that varies from job to job. The state of the wall leads the list: a clean smooth surface goes quickly, while patching, sanding, or priming adds steps and drying time.
Product quality differs widely. Thicker, better-made films position more easily and resist stretching, while thin, inexpensive rolls can tear or wrinkle and need slower handling. Patterns with a large repeat, such as big florals or geometric designs, require more careful matching and produce more waste than a solid or small-scale texture.
Room size, ceiling height and the number of cutouts matter as well. A tall entry wall or a stairway requires ladders and a second set of hands, and every switch, vent and window takes extra trimming.
Common mistakes we fix on self-adhesive walls
Many of our peel and stick calls come from homeowners who already bought the rolls and tried a panel or two. The problems tend to repeat. The most frequent is a first strip lined up against the corner of the room instead of a level line; by the third strip the pattern is visibly climbing or falling toward the ceiling.
Stretching is another. Self-adhesive vinyl is slightly elastic, and tugging it to close a gap distorts the print and pulls back over the next day or two, leaving a thin stripe of bare wall at the seam. Trapped air is the third: smoothing from the edges inward pushes bubbles into the middle of the panel, where they cannot escape.
Some issues only appear later. Panels that looked fine in spring can sag at the top once summer humidity peaks, often because the wall was dusty, freshly painted or finished in a flat paint with weak adhesion. When we take over a partly finished project, we usually remove the failed panels, correct the surface and restart from a new plumb line, reusing undamaged rolls whenever the adhesive is still clean.
Keeping removable wallpaper in good shape
Wipe vinyl-faced panels with a soft cloth and a little mild soapy water; skip abrasive pads and solvent cleaners. Keep the home cool and dry, since prolonged heat and humidity soften adhesive, which matters if the power is out for a few days during hurricane season.
If a corner starts to lift, press it back with a warm hand or a hair dryer on low. When the time comes to remove it, peel slowly at a low angle, pulling back along the wall rather than straight out, to protect the paint underneath.